Identity Statement Tutorial

  • Identity Statement Tutorial

What is in a name?  To me, names are so important.  As a parent, it is a great opportunity to speak life over your child.  To give them a name that means something.  Even if you just liked the name you chose and don’t really know what it means.  Take time to do a little research.  Find attributes or characteristics that give the name you chose for your child a depth of meaning.  And then encourage them to live to the full potential of the name chosen for them.  

As my children have gotten older, my husband and I have recognized how important it is to help them understand their identity.  In a world that freely places expectations and negative identity statements on young people, helping our kids understand their true identity in Christ alone has become paramount in our parenting.  Want to read more about where I came up with this Identity Statement idea and our hearts behind creating it?  Click HERE!

These identity statements are a fabulous way to have a tangible reminder of who your child is…especially on days where they come home from a tough day and question their worth.  This tutorial will walk you through how to simply create an identity statement for your child, friend, or yourself!

Supplies List:


First, open an account with Picmonkey from Picmonkey.com or use any user friendly editing software.  I feel that Picmonkey is super user friendly and worked beautifully for these identity statements.  They offer a free version and a paid version for a nominal fee.  The free version should work just fine for this project.    

Create a “New” project and choose the size you prefer.  I used the standard 8.5 x 11.  I planned to use an 8×10 frame opening so allow for areas on the margins to trim the document to fit in the frame or mat.  


Next, get creative!  Add text boxes and write all of the words that define your child’s name.  Verses that you feel coordinate with their personality or that will encourage them.  Consider adding their birthday or nickname.   Choose words that describe their unique personality.  Feel free to also include words that you feel with help guide them with areas of struggle.  There is no right or wrong here. Make this as unique as the individual it is for.  Play with fonts and sizes.  I found that keeping the width clean and consistent helps make the statement look organized and pleasing to the eye.  Use the character spacing feature and font size to aid in spacing.  At the end of the statements I added the sentence “Who you are declares what you do…”  This is something my pastor says often.  It repeats in my head in regards to my parenting.  When my kids believe that they are a treasured son or daughter of the Heavenly Kind they will walk in confidence through many trials.  They will live out the unique attributes that God gave them as individual.  

Next print your statement on cardstock.  If you have a printer that uses toner like a laser printer– perfect!  Print directly onto the cardstock.  If you have an ink jet printer then you will need to take your print to a copy shop like FedEx office and make a copy on their copy machine.  The key is to have a copy on cardstock with toner.  The gold foil will only stick to toner. This will only cost you a few cents if you bring your own cardstock and be convenient because you can use the laminating machine while you are there as well.  

Next, cut a piece of gold foil to cover the entire image.

Place the foil shiny side up.  So that when it adheres to the paper, the pretty gold color will cover the letters.  

Place the gold foil covered cardstock in a manilla folder or paper laminating sleeve.  It will be in this while going through the laminating machine.  

Lastly, feed the manila sleeve through the laminating machine.  I have found that home laminating machines are often not hot enough to give you the desired result.  Using a commercial machine at FedEx Office or someplace similar will do the trick.  My local FedEx Office did not charge me for laminating because I just used the machine and did not use a clear laminating much.  Make a couple of extras to feed it through a couple of times.  Sometimes, they look more evenly coated than others.  From trial and error I learned that it is best to feed the document through only once.  If you feed it through a second time somethings the foil will get messy or come off some in spots. 

 Once the document comes out of the laminating machine give it a minute or two to cool and then peel the gold foil off the top of the cardstock.  See the picture below to give you an idea of how the words look with the gold foil pressed on them.   

Viola!  A beautiful identity statement ready for framing.  I framed my kiddos’ statements in simple white frames to highlight the gold foil.  It would also look great framed in black or a fun bright color.  I hung the statements with a picture of each child that captures their unique personality.  We stop and read over them together often.  If you make one of these, I would love to see it!  Be sure to tag #hostingwhatmatters on Instagram and I will feature your beautiful art work!  

Hugs

Leave a Reply

Your email address will not be published. Required fields are marked *

Meet the Hostess

CloseupProfilePic

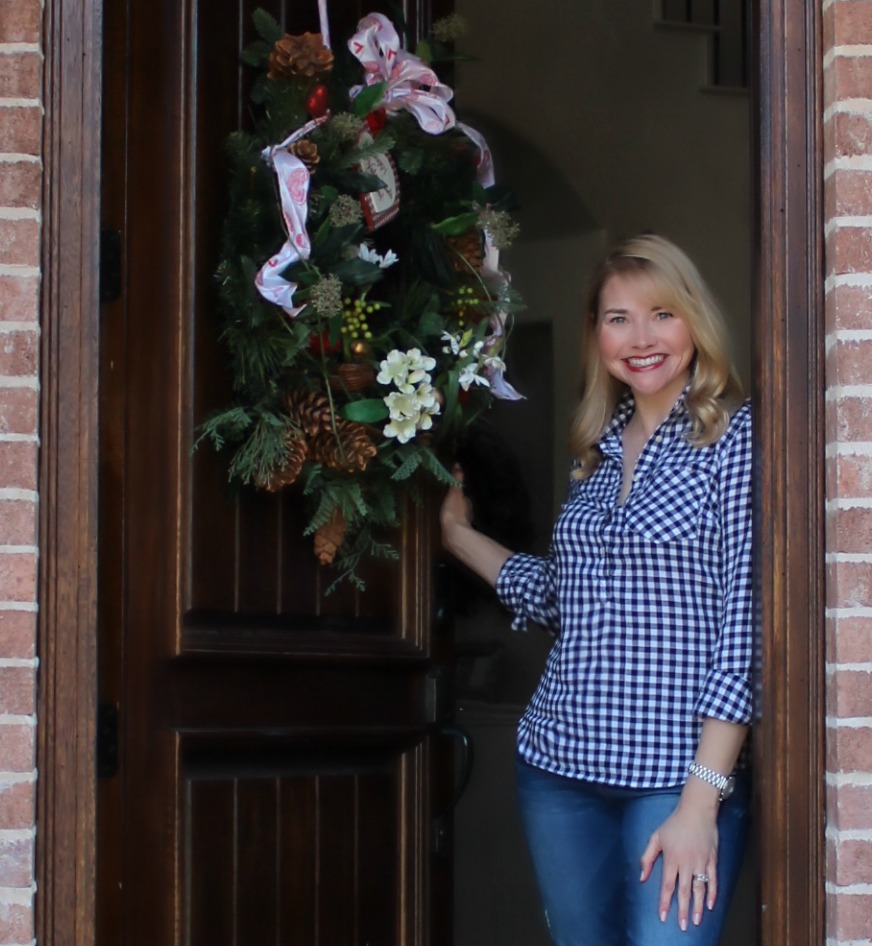
I'm a Southern girl who loves a good party, a house full of laughter, and a porch swing full of friends and family. I blog about how to host in a way that matters. Curious what I mean by that?   CLICK HERE TO LEARN MORE AND READ MY STORY.


Ebates Coupons and Cash Back